Sticker Printing Test File
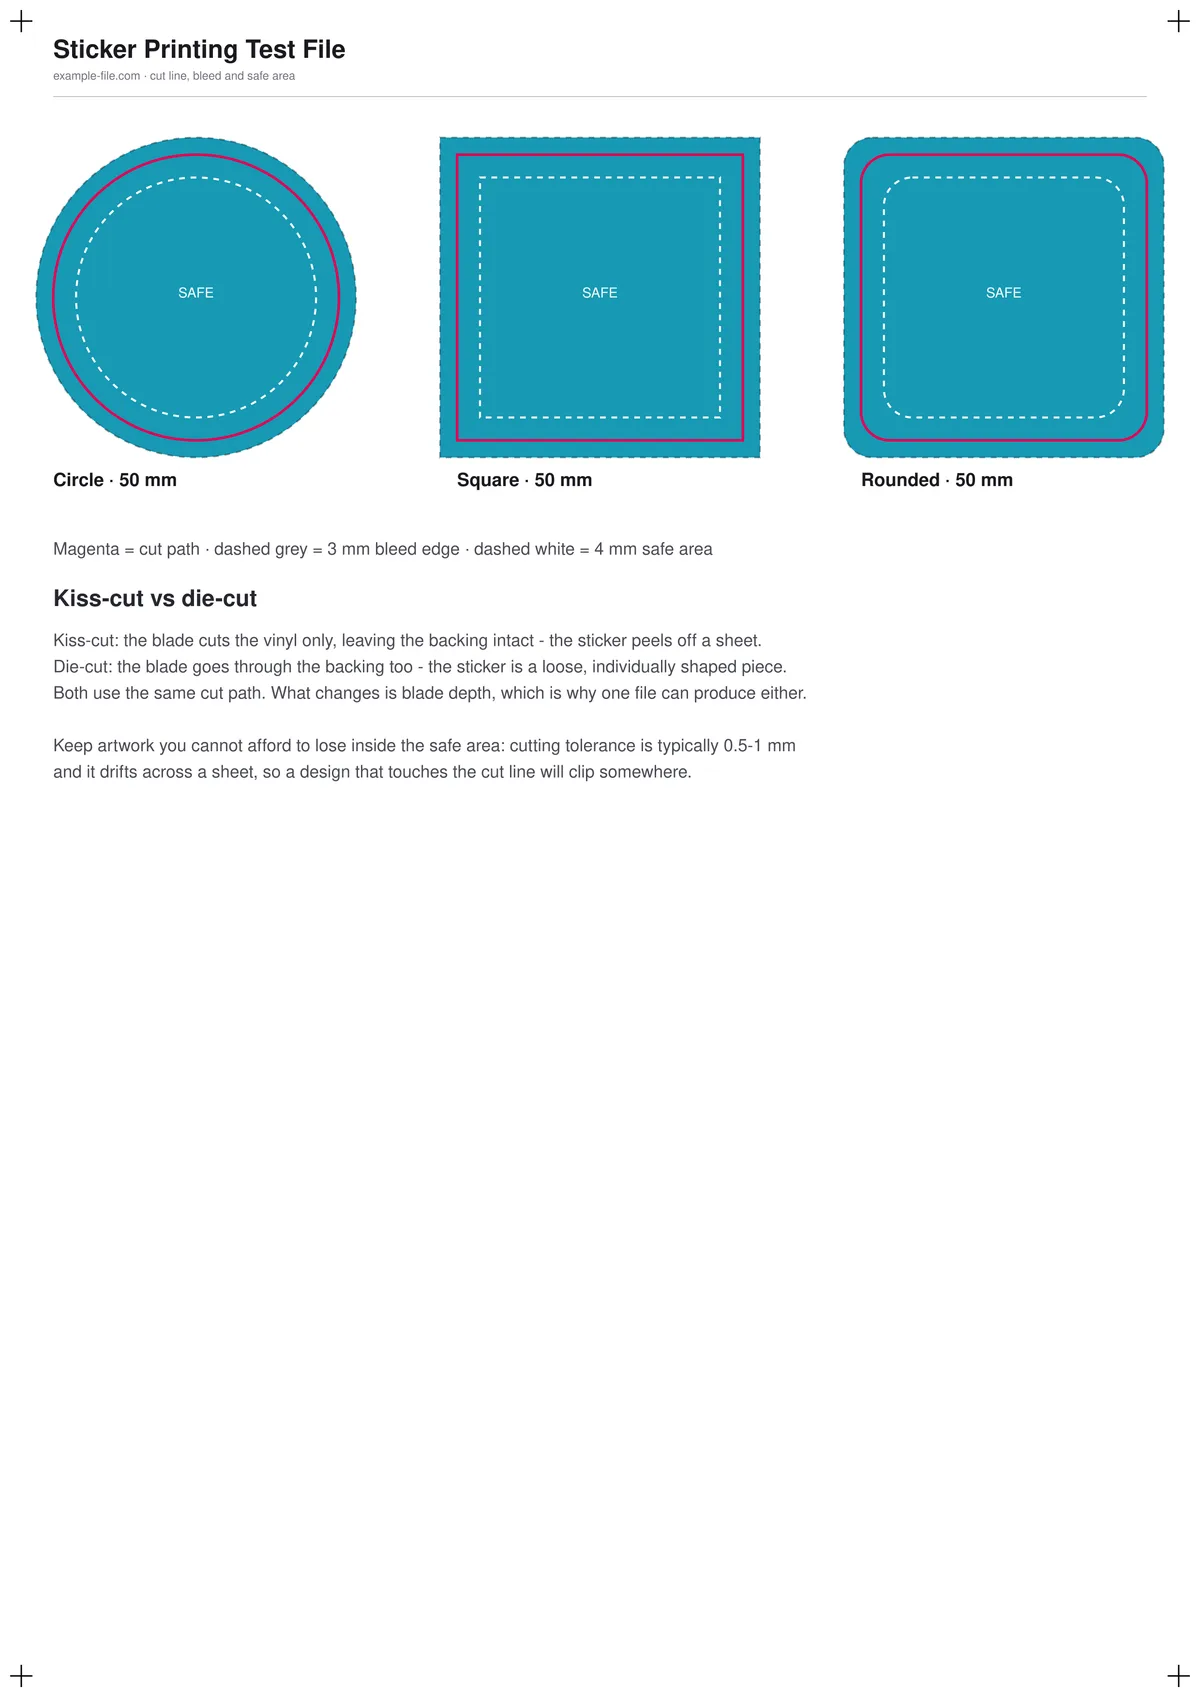
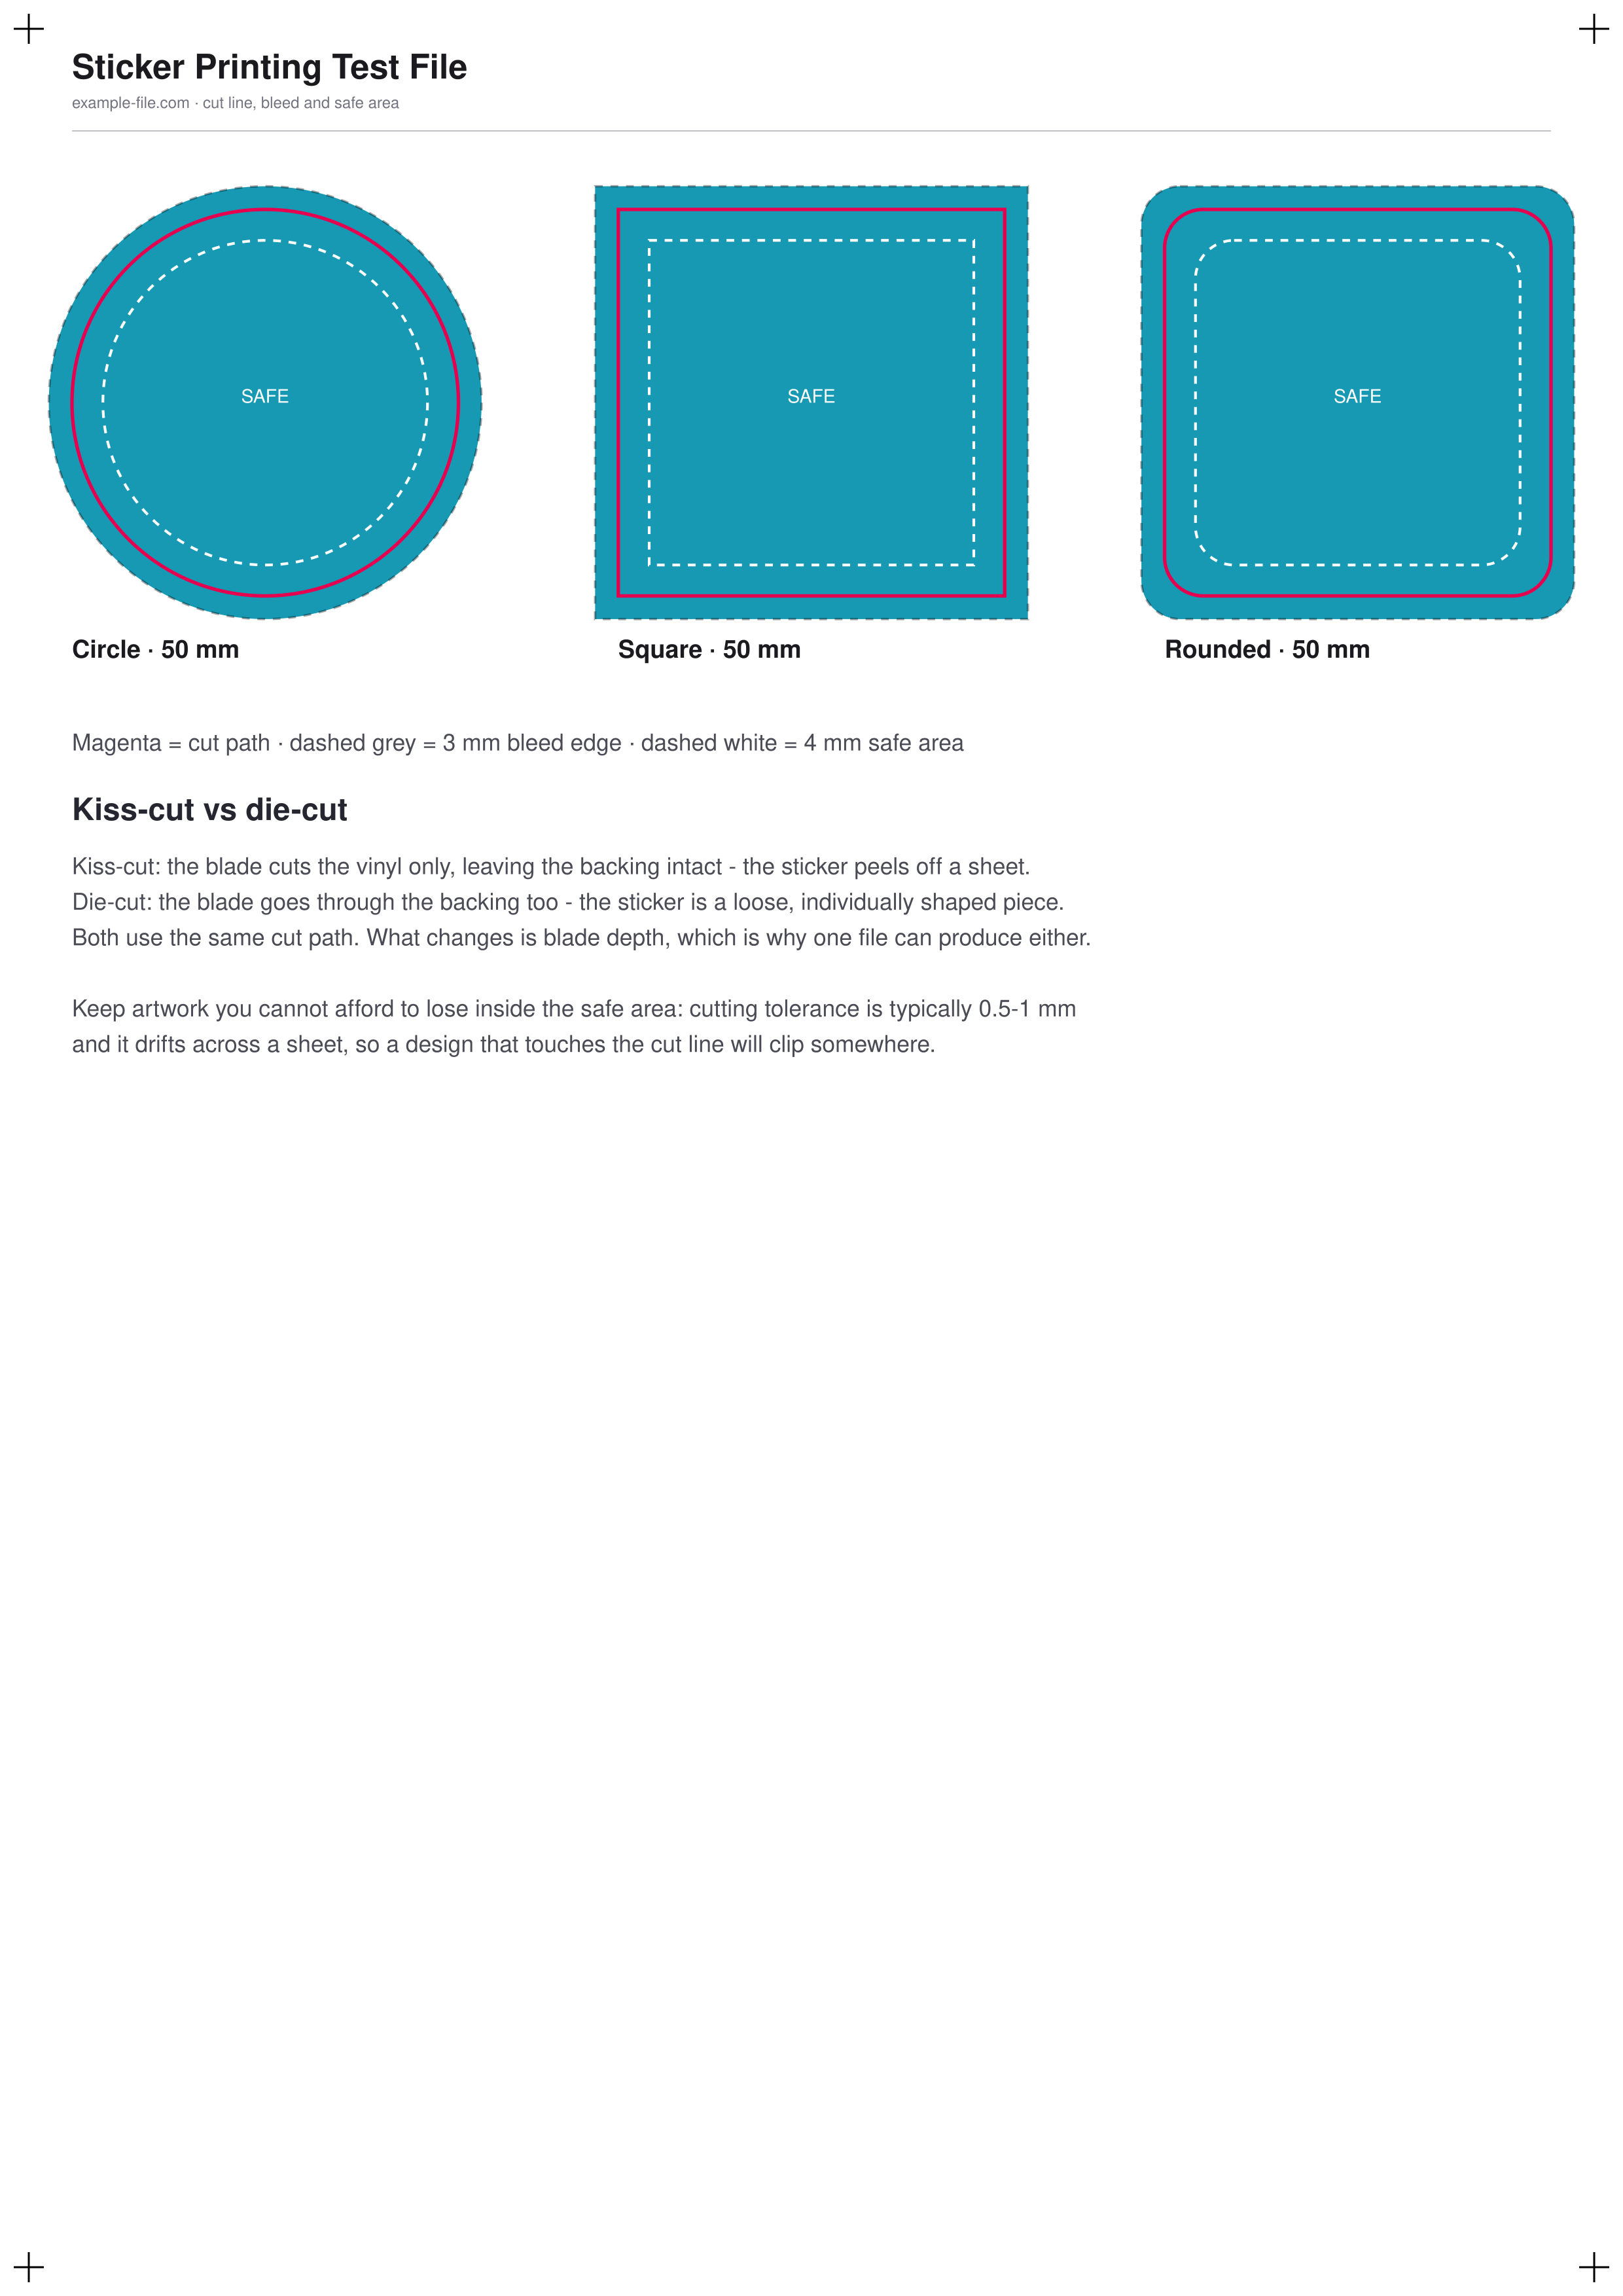
Three 50 mm stickers — circle, square and rounded square — each carrying the same three lines every real sticker file needs: artwork bleeding 3 mm past the cut, a magenta cut path, and a dashed safe area 4 mm inside it. Print it, cut it, and measure how far the blade drifted from the path. The sheet also lays out the kiss-cut versus die-cut distinction, which is the thing most people get wrong when ordering.
What these files actually are
The artwork genuinely extends past the cut path into the bleed and is drawn in true DeviceCMYK via pdf-lib, so this behaves like a real sticker file rather than a picture of one. One honest limitation: the cut path here is a magenta line, not a named spot colour. Most cutting workflows want a specific spot swatch — commonly CutContour, or whatever your supplier specifies — and the exact name differs between print shops. This file is for checking cutting accuracy and understanding the layers; when you produce a real job, ask your supplier what they want the cut path called and set it up in your design app.
-
Downloadsticker-test-a4.pdfPDF · 2.7 KB VirusTotal report
-
Downloadsticker-test.pngPNG · 303 KB VirusTotal report
Are these files safe to download?
Every sample file is generated by us — no executable code, no macros. Files are served over HTTPS from our CDN, each with a SHA-256 checksum so you can verify your download and a link to an independent VirusTotal scan report.
Check this site independently:
How to print this test sheet
- Print at 100% scale on A4, ideally onto the sticker stock you intend to use - vinyl and paper cut differently.
- Cut each shape along the magenta path, by hand or on a plotter, then measure how far the actual cut landed from the line. That distance is your cutting tolerance, and it's the number that decides how much safe area a real design needs.
- Check whether any teal artwork is missing from an edge. If it is, the cut went outside the bleed - which on a real sticker means a white sliver along that edge.
- Confirm the dashed white safe-area ring survived intact on all three shapes. Anything of yours outside that ring is at risk on a production run.
- Compare the three shapes against each other. Circles and rounded corners are usually where drift shows first, because a small rotational error is far more visible on a curve than on a straight edge.
- For a real order, ask your supplier what they want the cut path named - usually a spot colour such as CutContour - and set that up in your design file rather than reusing this magenta line.
Common use cases
Measuring a supplier's cutting tolerance
Send the file to a sticker printer and measure what comes back. It turns 'our cutting is accurate' into a number you can design around.
Calibrating a desktop cutting plotter
The three shapes expose registration drift and rotation on a Cricut, Silhouette or similar far more clearly than a single square would.
Learning the three-layer structure
Bleed, cut path and safe area on one sheet, with real spacing, makes the structure obvious in a way a diagram doesn't.
Deciding kiss-cut or die-cut
The explainer on the sheet settles which one an order actually needs before you pay for the wrong thing.
Frequently asked questions
- What's the difference between kiss-cut and die-cut?
- Blade depth, and nothing else in the file. Kiss-cut goes through the vinyl but not the backing, so the sticker peels off a sheet - that's what you get on a sticker sheet. Die-cut goes through the backing too, so each sticker is a loose, individually shaped piece. The same cut path produces either; you choose when you order.
- Why isn't the cut line a proper CutContour spot colour?
- Because there's no single right answer to name it. Different suppliers want different spot names, and a file that hard-codes one would be wrong for most people. This sheet's job is to let you measure cutting accuracy and understand the layers - for a real job, ask your printer what they want and set it up yourself.
- How much safe area does a sticker actually need?
- Cutting tolerance is typically 0.5-1 mm and drifts across a sheet, so 3-4 mm of safe area is the usual advice - which is what this file uses. If you measure your own supplier with this sheet and they're consistently tighter, you can design closer to the edge with some confidence.
- Why does the artwork extend past the cut line?
- Same reason as any printed job that gets trimmed: the blade will never land exactly on the line, so the colour has to continue past it. If artwork stopped at the cut path, every slightly-off cut would leave a white edge. That's what the 3 mm ring outside the magenta line is for - and the bleed test file covers the same principle for flat printed work.
More printer test images
- Bleed Test File — Free Print-Ready 3mm Bleed PDF (A4)
- DTF Printer Test Image — Free Transparent PNG for White Underbase
- CMYK Test Image — Free 4-Channel CMYK JPEG & TIFF Download
- Color Printer Test Page — Free RGB Color Bar & Gradient (PDF/PNG)
- A4 Printer Test Image — Free Full-Page PDF & PNG Download