Bleed Test File
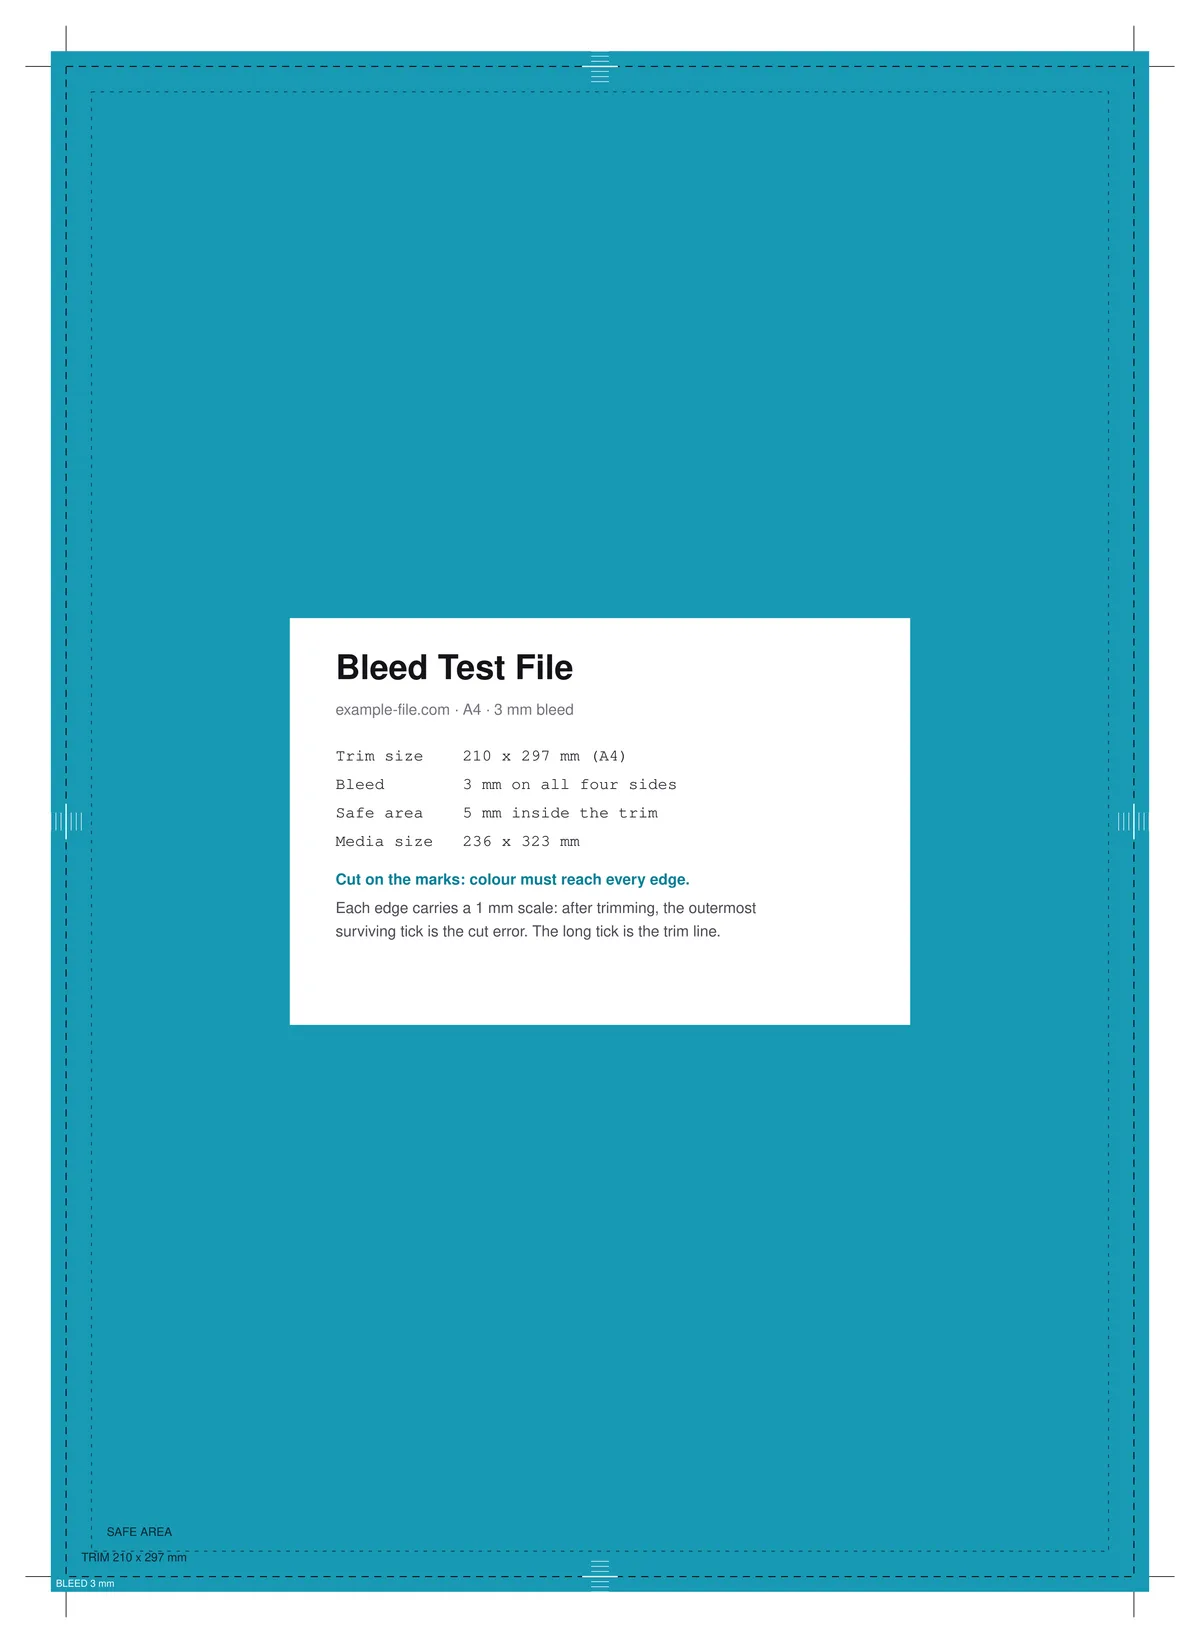
A print-ready file for checking that bleed, trim, and cutting all line up before you commit to a real job. The artwork runs 3mm past the A4 trim on all four sides, standard crop marks sit outside that bleed, a dashed safe area marks 5mm inside the trim, and each edge carries a 1mm-graduated scale so a cut that lands off the line tells you exactly how far off it was, and in which direction.
What these files actually are
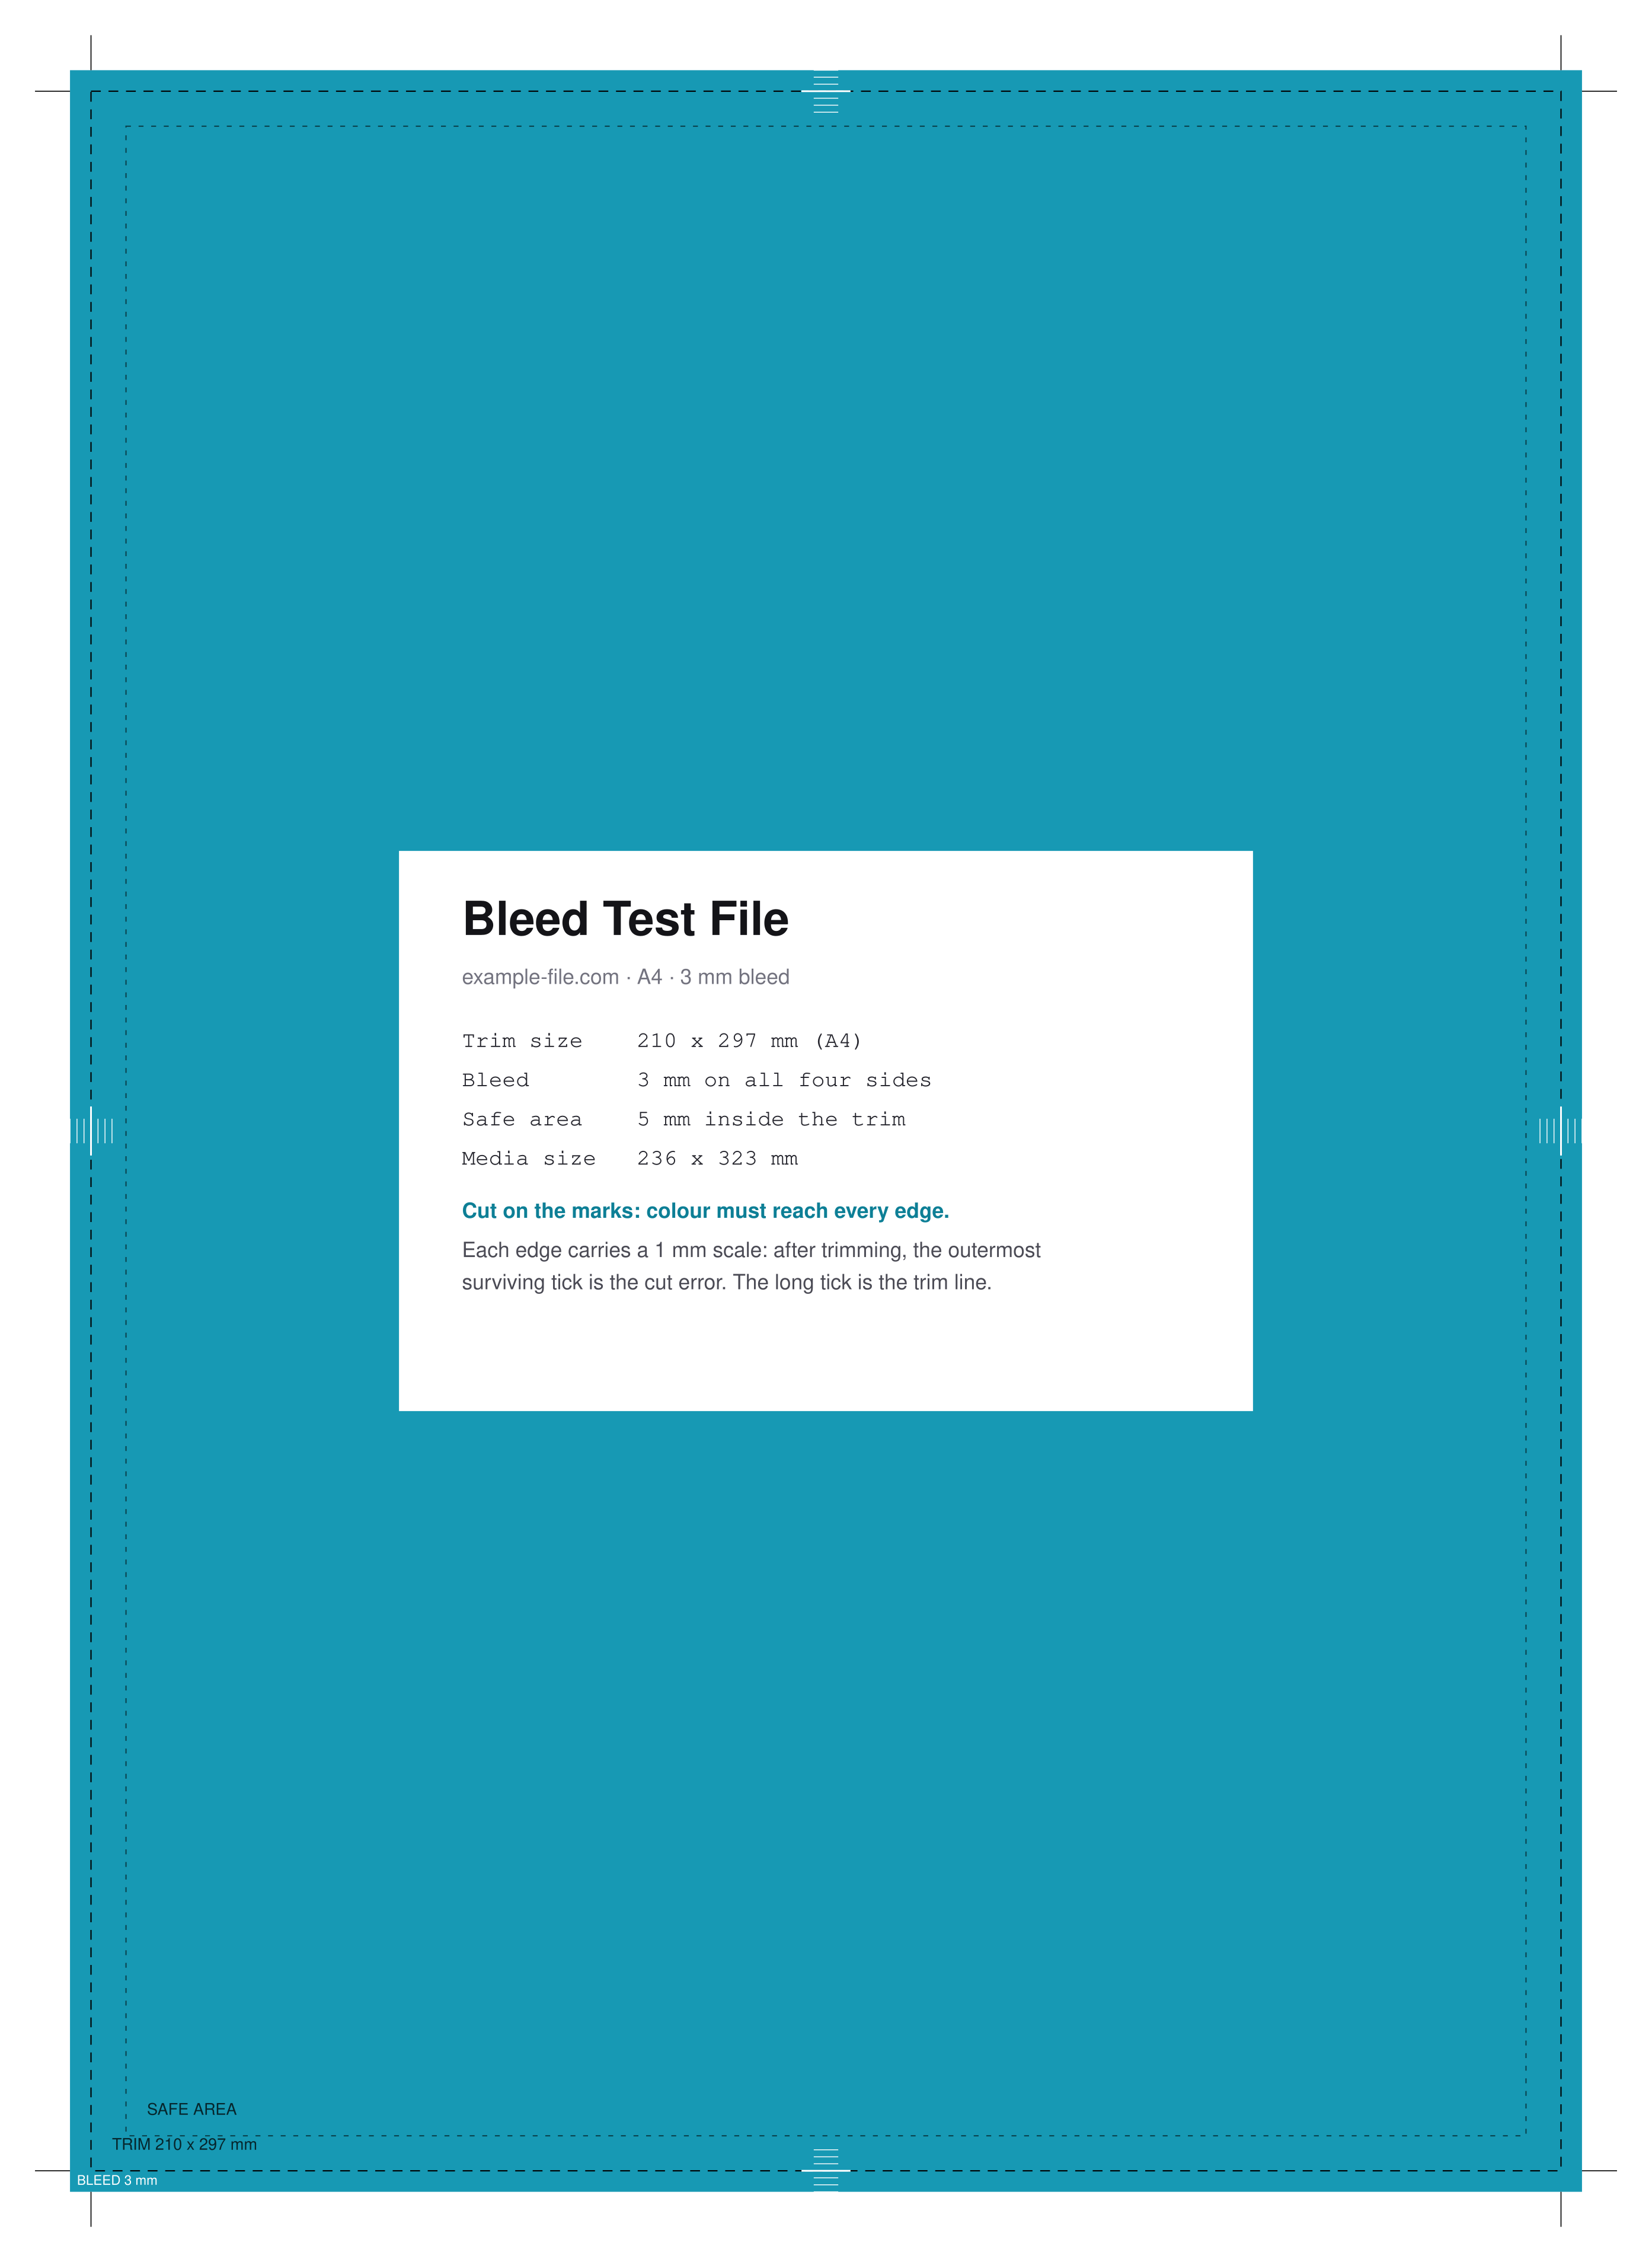
The PDF carries genuine page geometry, not a drawing of it: MediaBox 236 x 323mm, BleedBox 216 x 303mm, and TrimBox 210 x 297mm are written as real PDF box entries, so Acrobat's "Set Page Boxes" dialog, a preflight check, or any RIP reads the same values back. The artwork is drawn in true DeviceCMYK via pdf-lib rather than converted from RGB. The PNG is a 300dpi raster of the whole media area for reference only - an image file has nowhere to store box metadata, so use the PDF for anything going to a press.
-
Downloadbleed-test-a4.pdfPDF · 2.3 KB VirusTotal report
-
Downloadbleed-test-a4.pngPNG · 332 KB VirusTotal report
Are these files safe to download?
Every sample file is generated by us — no executable code, no macros. Files are served over HTTPS from our CDN, each with a SHA-256 checksum so you can verify your download and a link to an independent VirusTotal scan report.
Check this site independently:
How to print this test sheet
- Print the PDF at 100% scale ("Actual size") onto paper larger than A4 - the file is deliberately 236 x 323mm so the bleed and crop marks have somewhere to live. Printing it onto A4 will scale or clip it and defeat the entire test.
- Cut along the crop marks at all four corners. The marks are offset from the trim by exactly the 3mm bleed distance, so they never sit on the artwork.
- Check every edge of the trimmed sheet: colour should reach the paper with no white sliver anywhere. A white edge means the cut landed outside the trim line, or bleed was lost somewhere in the workflow.
- Read the cut error off the edge scales. The long tick is the trim line; each shorter tick is 1mm. Whichever ticks survive on the trimmed sheet tell you how far the blade drifted inward, and ticks that survive on the offcut tell you it drifted outward.
- Confirm nothing important fell outside the dashed safe area - that 5mm inset is the margin real cutting tolerance eats into, which is why text and logos belong inside it.
- To verify the file itself rather than the printer, open the PDF in Acrobat and check Set Page Boxes, or run it through your printer's preflight - the trim and bleed values should read exactly 210 x 297 and 216 x 303mm.
Common use cases
Checking a print shop's cutting tolerance
Send this file to a shop or press and measure the returned sheet against its own edge scales to find out what cutting accuracy they actually deliver, rather than what they quote.
Validating an export preset
Run the file through your own InDesign, Illustrator, or Canva export settings and confirm the bleed and trim boxes survive the round trip - export presets silently drop bleed more often than most people expect.
Learning what bleed is for
Print and cut one sheet to see first-hand why artwork has to extend past the trim: the same cut that looks fine with bleed leaves a white edge without it.
Preflight and RIP configuration testing
Use a file with known, exact box values as a fixture when setting up preflight profiles or a RIP, so you can tell a misconfigured tool from a genuinely bad file.
Frequently asked questions
- Why is the file 236 x 323mm instead of A4?
- Because a real print-ready file is bigger than its finished size. A4 (210 x 297mm) is the trim - what you end up holding. Add 3mm of bleed on each side and you get 216 x 303mm, then the crop marks need room outside that, which brings the media to 236 x 323mm. The TrimBox inside the PDF is still exactly A4.
- Can I print this on an A4 sheet?
- Not usefully. Your printer would have to shrink it to fit, which changes every measurement the file exists to test. Print onto A3 or any stock larger than 236 x 323mm at 100% scale, then trim.
- Is 3mm the right amount of bleed?
- 3mm is the common standard in most of the world and what the majority of European and Asian printers ask for. US shops often specify 0.125in (about 3.2mm), which is close enough that this file still works as a check. Some products - hardcover wraps, large format - want considerably more, so always confirm with your printer.
- My cut looks perfect but there's still a thin white line on one edge. Why?
- That usually means the bleed was lost before printing rather than mis-cut. A common cause is an export preset with bleed set to 0, which crops the artwork at the trim so there is nothing to cut into. Compare your exported file's BleedBox against this one to tell the two failures apart.
- Why does the PNG look the same but isn't recommended for printing?
- A PNG can show you the layout but can't carry TrimBox or BleedBox values, has no CMYK data, and gives a RIP no way to know where the trim line is. It's included for reference and for tools that only accept images - the PDF is the one that actually functions as a print-ready file.
More printer test images
- Printer Test Image — Free Printable Test Page (PDF/PNG)
- CMYK Printer Test Chart — Free Ink Patch Chart (PDF/TIFF)
- Print Resolution Test Image — 72/150/300/600 DPI Samples (PNG/PDF)
- Printer Sharpness Test Image — Free Fine-Detail Chart (PDF/PNG)
- RGB vs CMYK Test Image — See Real Color Conversion (PNG/TIFF)