DTF Printer Test Image
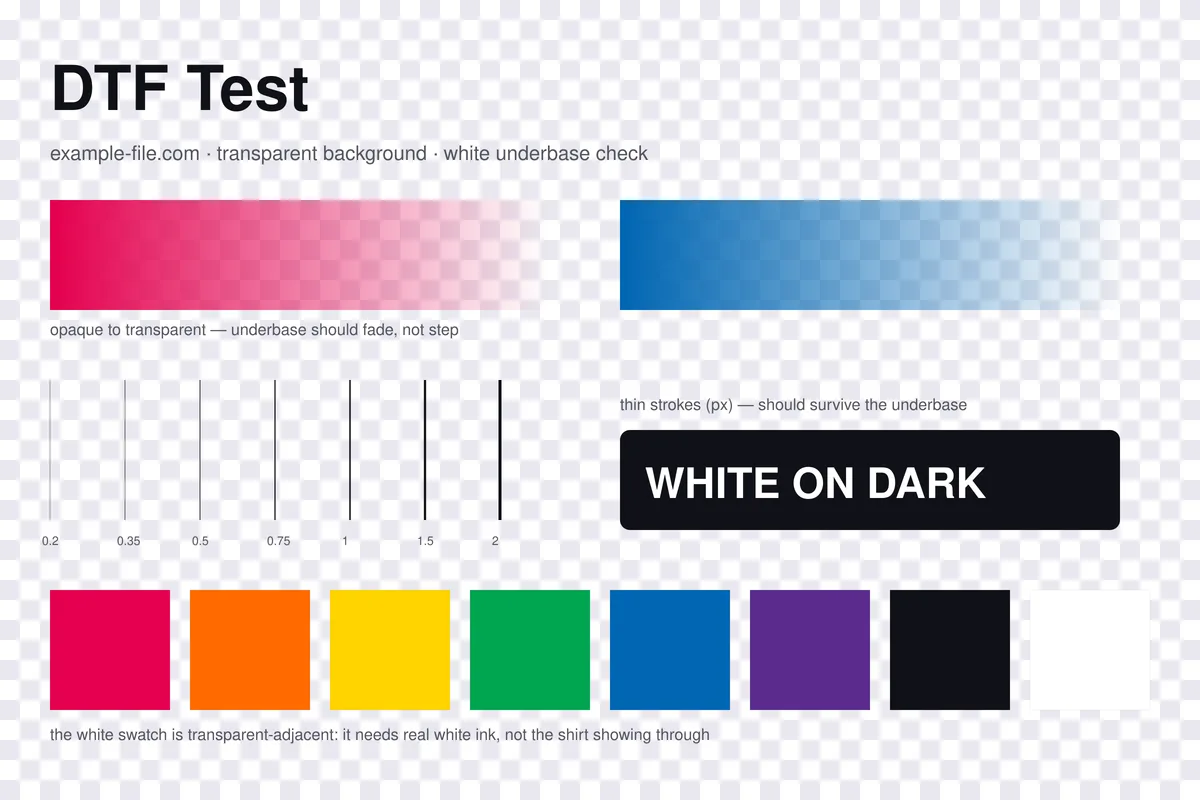
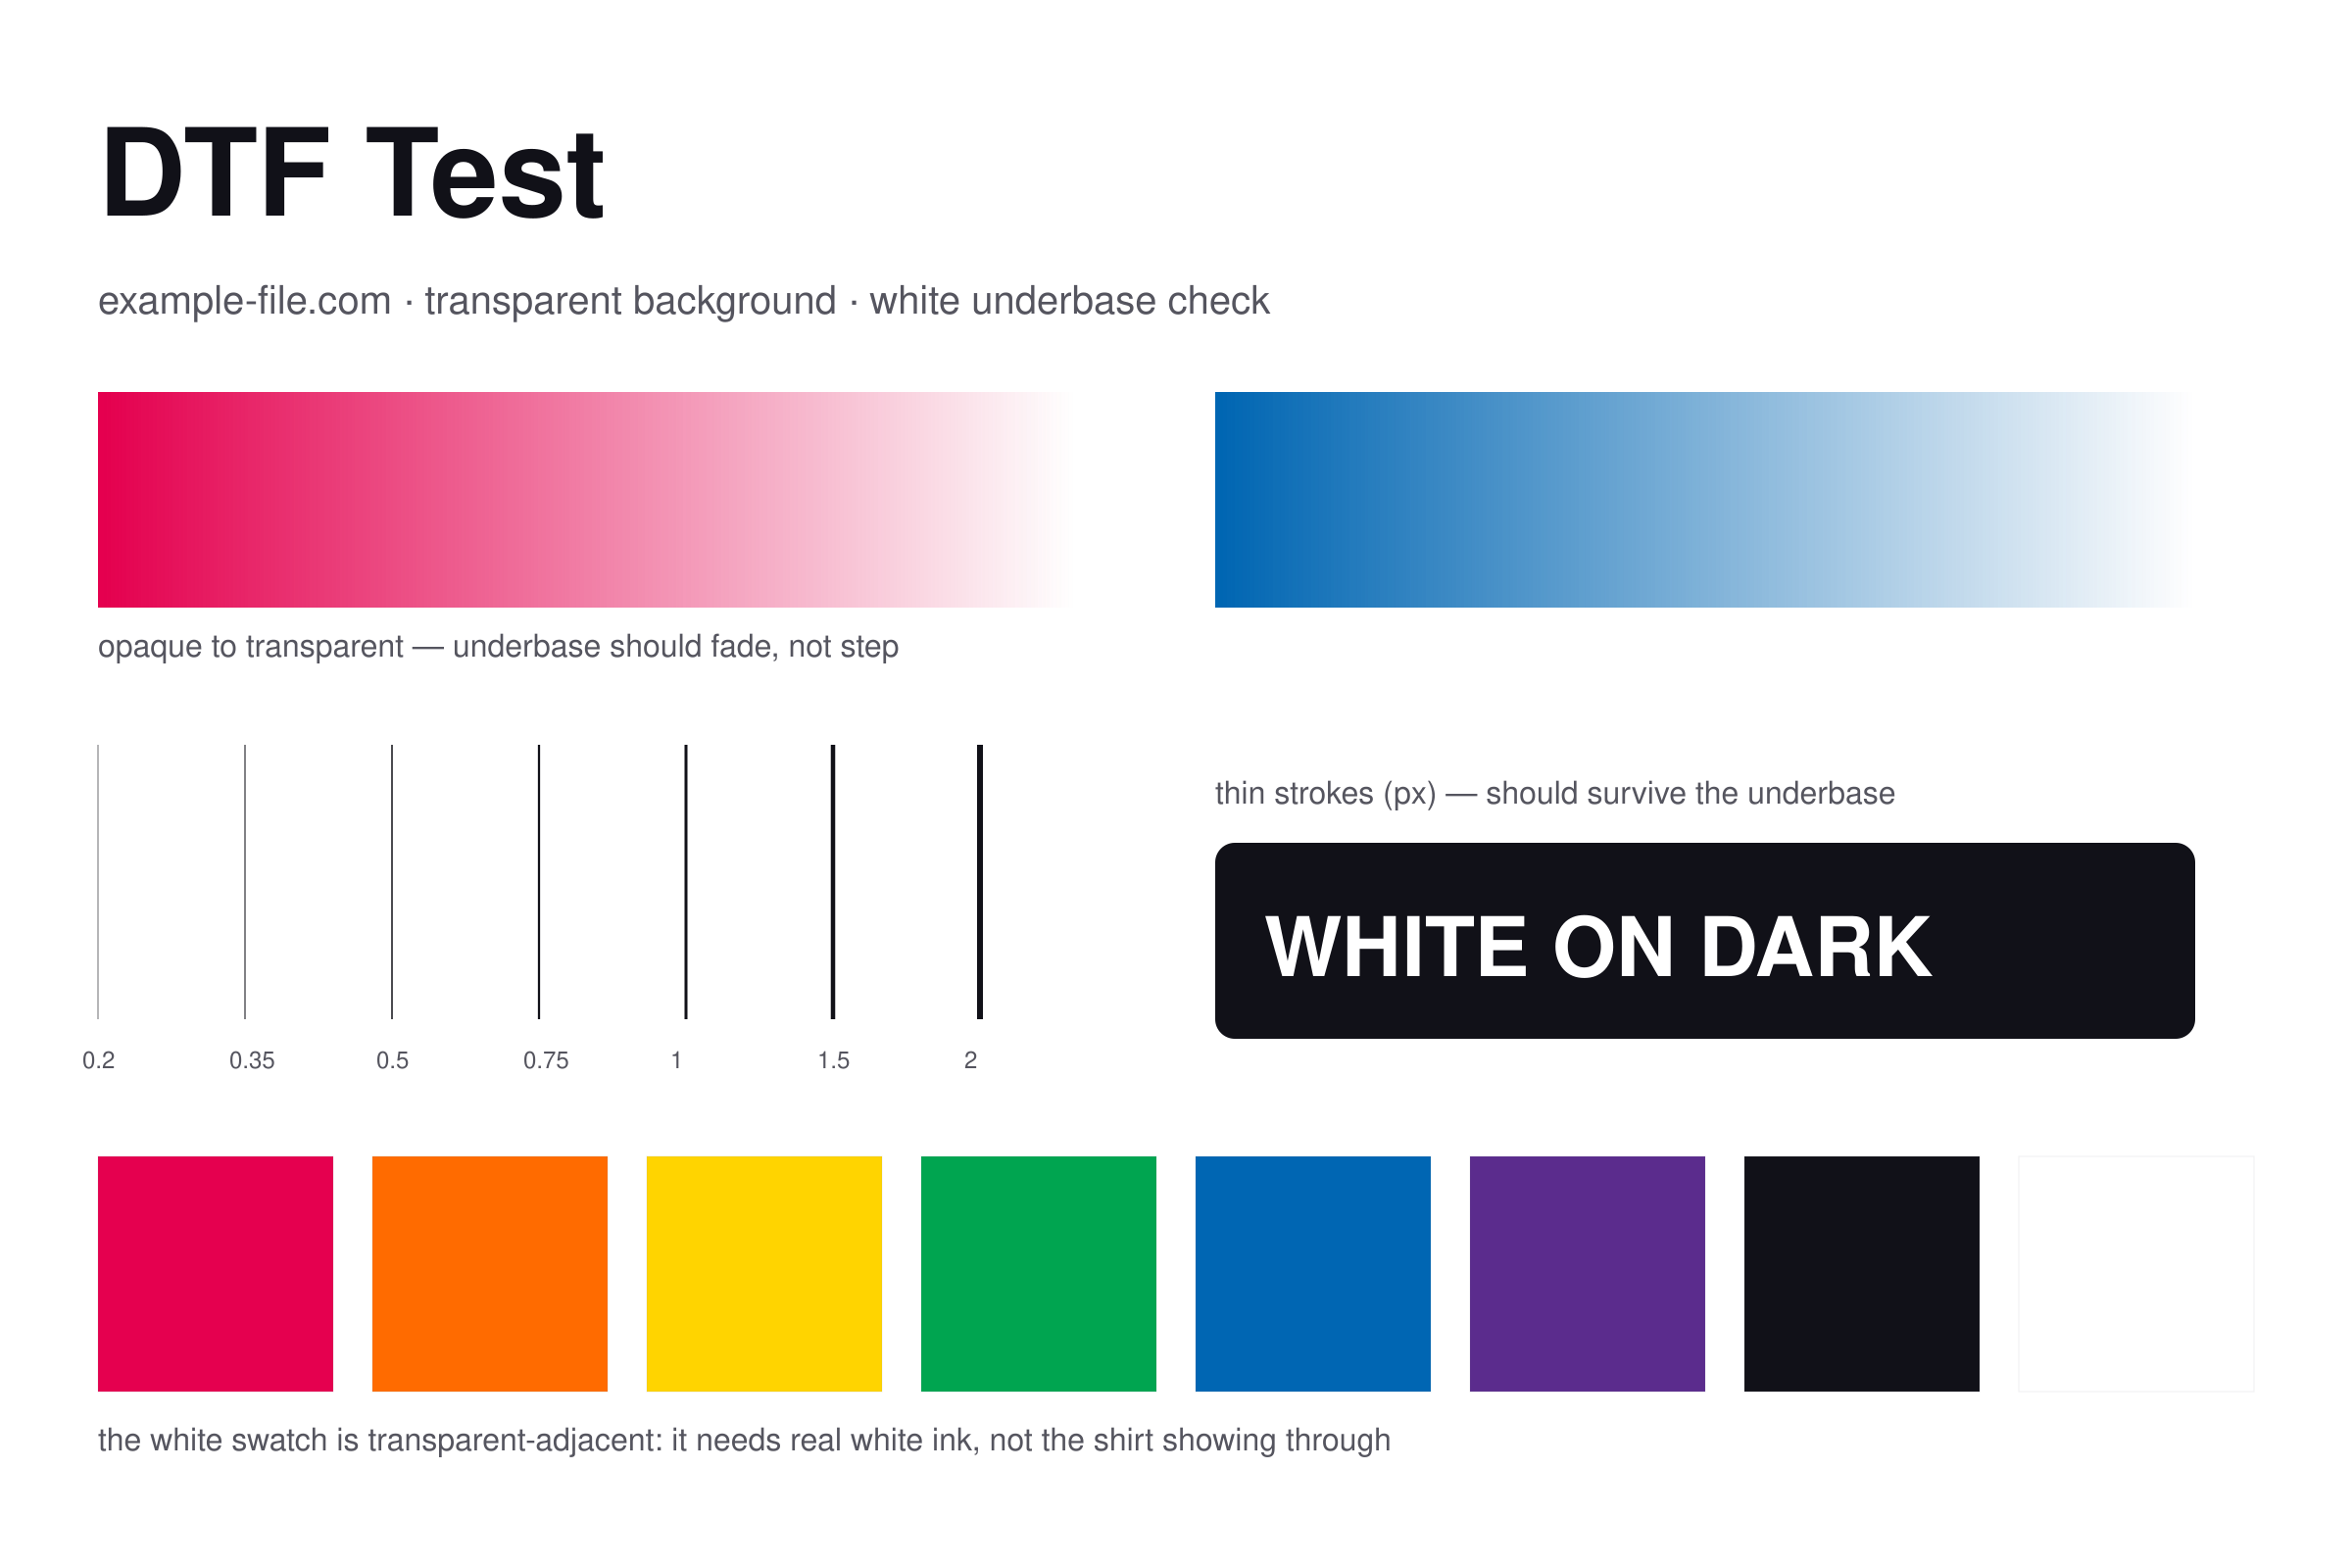
A direct-to-film test built around the thing that actually decides DTF quality: the alpha channel. Your RIP generates the white underbase from transparency, so this file is a genuine transparent PNG containing the cases that break underbase generation — gradients fading from opaque to fully transparent, strokes from 2px down to 0.2px, white artwork that only exists if real white ink is laid, and a colour row for a garment sanity check.
What these files actually are
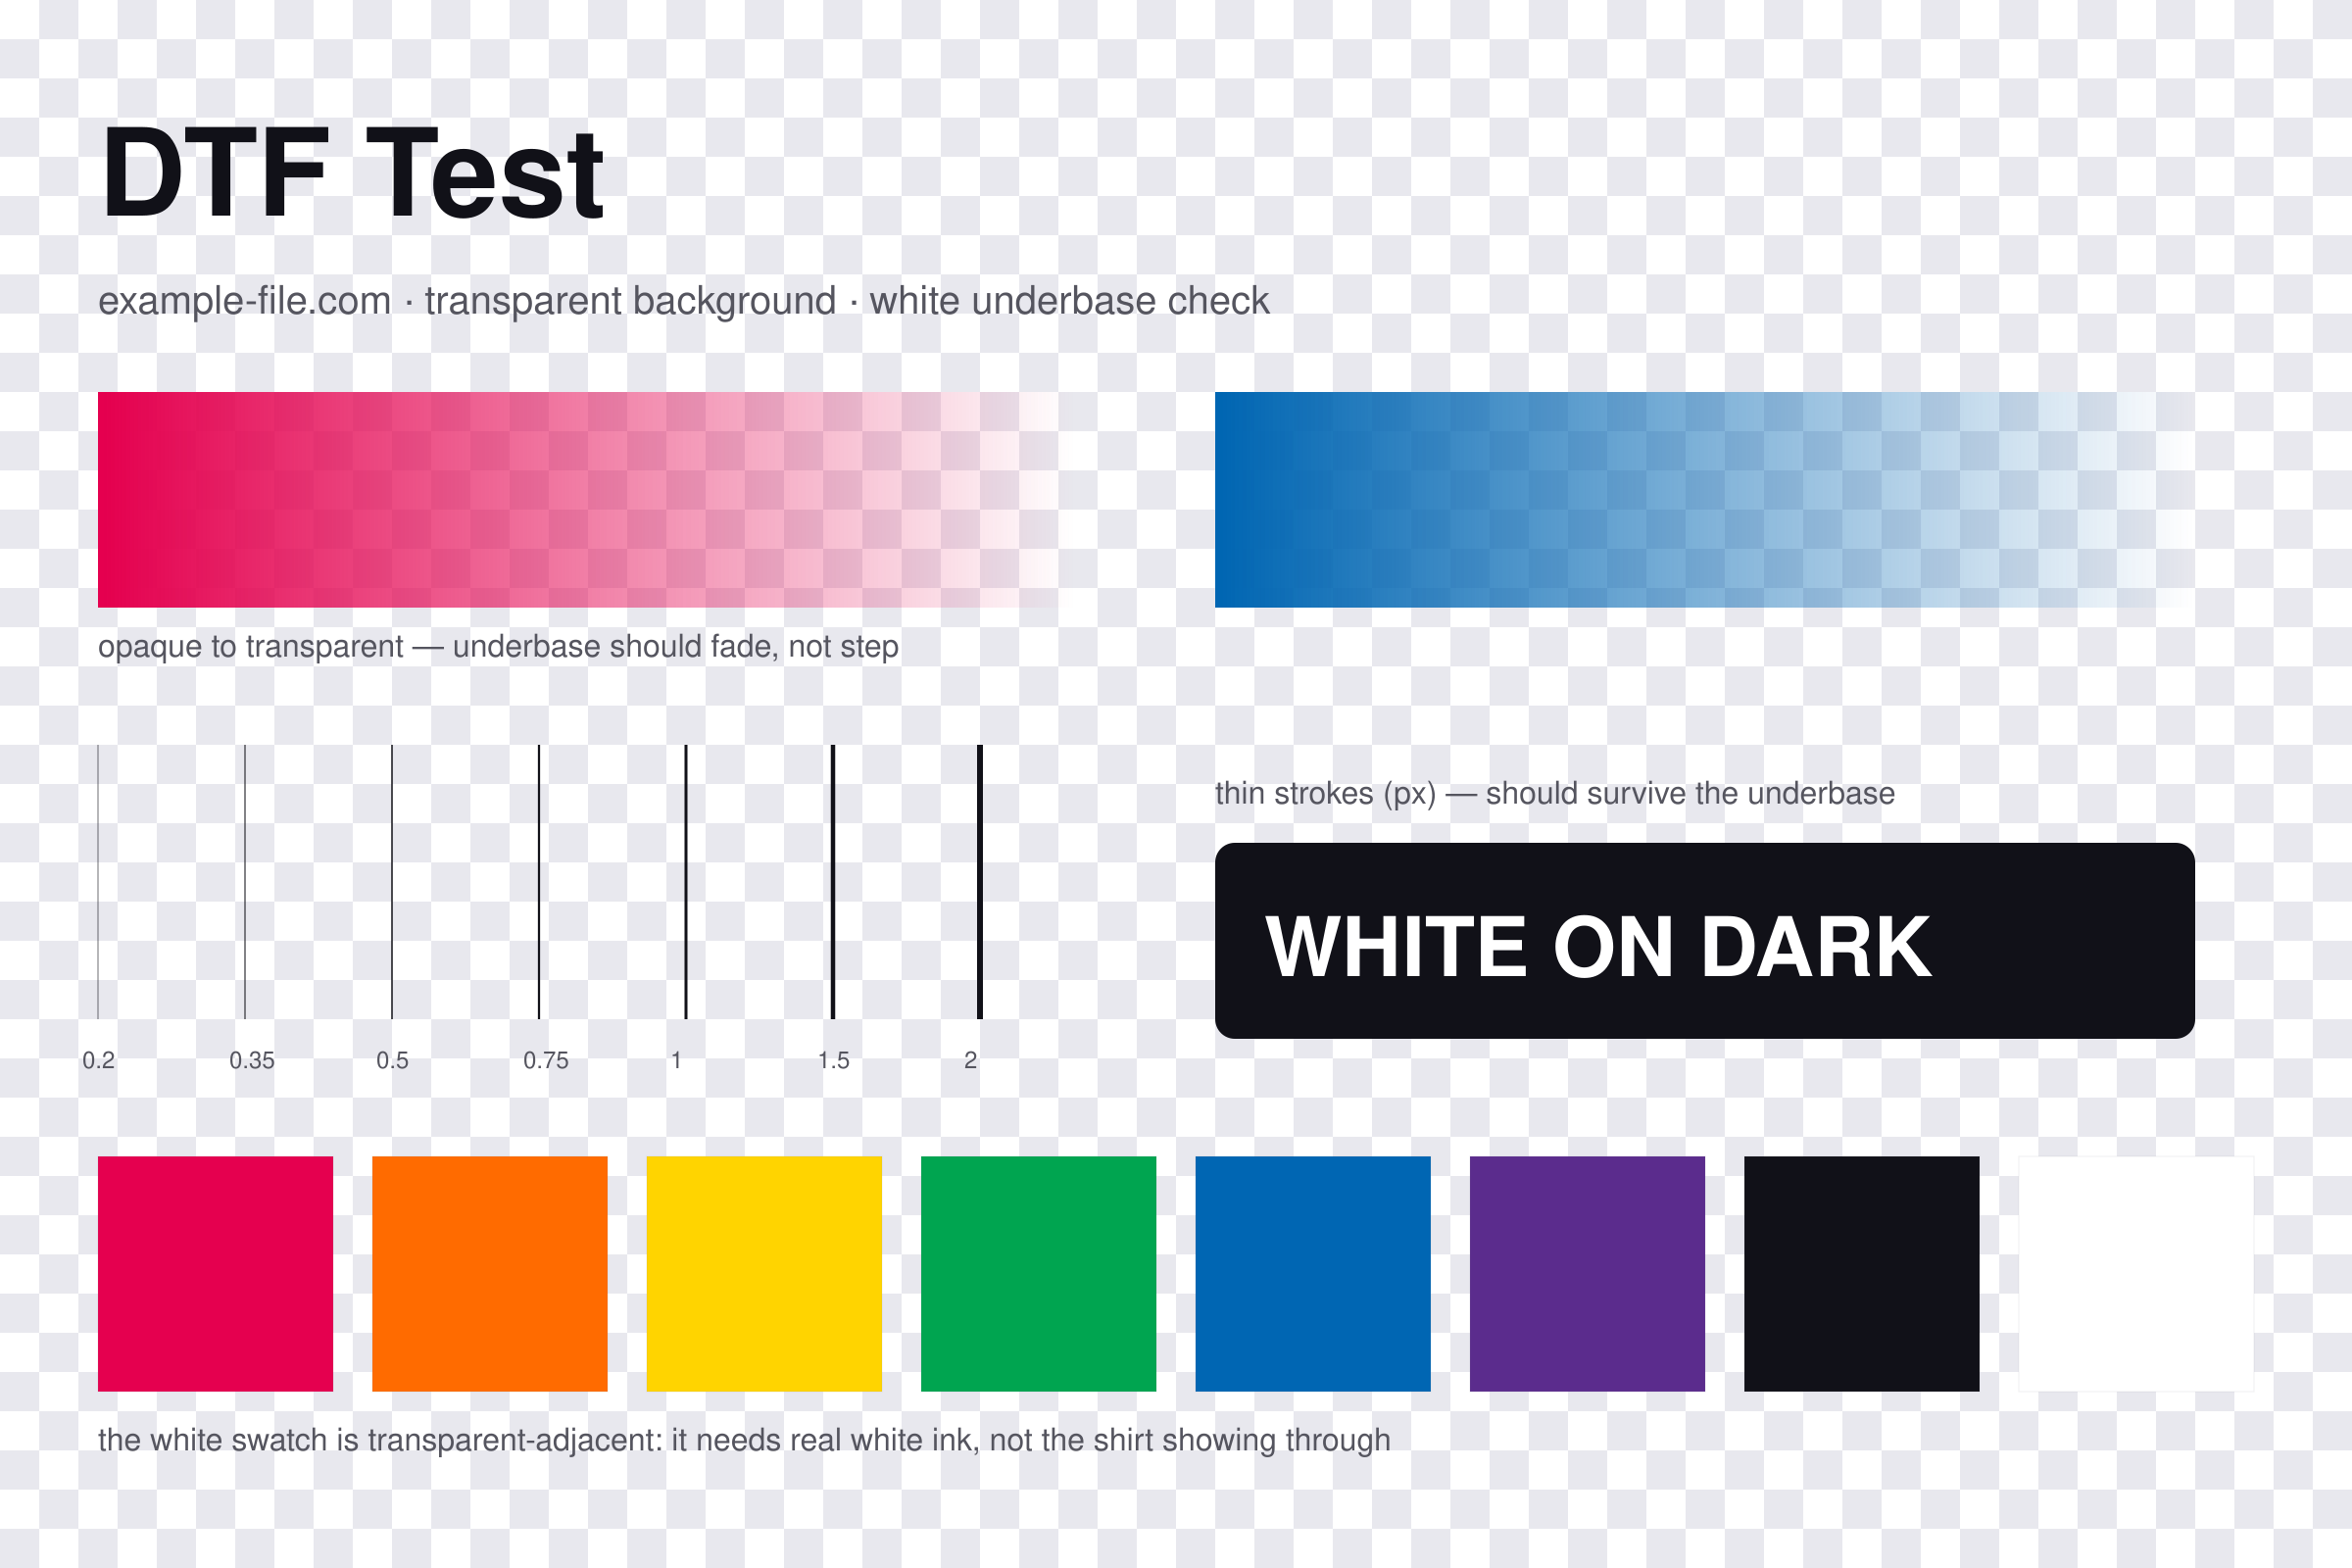
The transparent PNG has a real alpha channel — 4 channels, with alpha values genuinely spanning 0 to 255, verified after generation rather than assumed. That's the entire point: a flattened chart with a white background would be useless here, because the RIP would have nothing to build an underbase from. A second copy composited onto a checkerboard is included so you can see the transparency with your own eyes, and so the preview above shows something meaningful — but send the transparent file to your RIP, not the checkerboard one.
-
Downloaddtf-test-transparent.pngPNG · 131 KB VirusTotal report
-
Downloaddtf-test-on-checkerboard.pngPNG · 229 KB VirusTotal report
Are these files safe to download?
Every sample file is generated by us — no executable code, no macros. Files are served over HTTPS from our CDN, each with a SHA-256 checksum so you can verify your download and a link to an independent VirusTotal scan report.
Check this site independently:
How to print this test sheet
- Send dtf-test-transparent.png to your RIP and let it generate the underbase as it normally would. Do not flatten it or add a background first - that destroys the only thing this file is testing.
- Look at the two gradients on the printed film. A good underbase fades with the artwork; a crude one puts down solid white to a hard edge, which shows on the garment as a visible white shelf where the gradient should have vanished.
- Check the thin strokes. The 0.2px and 0.35px lines are the first casualties of a coarse or choked underbase - if they've disappeared or thickened noticeably, your underbase choke setting is too aggressive.
- Confirm the WHITE ON DARK block. That white text only exists as white ink; if it comes out as the shirt colour, the RIP isn't laying white where it should.
- Press onto both a dark and a light garment. The underbase matters enormously on dark fabric and barely at all on white, so testing only on white tells you nothing about the setting.
- Use the checkerboard copy purely to check your own eyes and monitor - it's a visualisation, not a print file.
Common use cases
Tuning underbase choke and density
The gradients and thin strokes are where choke settings show first, long before they're visible in normal artwork.
Checking a RIP handles alpha correctly
Some software silently flattens transparency onto white on import, which quietly ruins every DTF job. This file makes that failure obvious.
Comparing DTF suppliers
Send the identical file to two print providers and compare the gradients and fine lines - it's a fair, specific comparison rather than a vague one.
Testing white ink coverage
The white-on-dark block and the white swatch confirm your white ink is actually being laid at usable density.
Frequently asked questions
- Why is the background transparent instead of white?
- Because that's what DTF needs. The RIP builds the white underbase by looking at which pixels are opaque - transparency is the instruction for "no ink here". A file with a white background tells the RIP to lay white ink across the entire rectangle, which on a dark shirt gives you a white box with your design in it. The transparency isn't a cosmetic choice; it's the data.
- Why does the preview show a checkerboard?
- Because a genuinely transparent image displayed on a web page would show the page behind it, which tells you nothing about where the transparency is. The checkerboard copy exists so the transparent regions are visible. The file you actually send to a printer is the transparent one.
- How is this different from the sublimation test image?
- Different processes with different failure modes. Sublimation bonds dye into polyester with heat and has no white ink at all - which is why it can't print on dark garments, and why that page is about colour shift under the press. DTF lays a white underbase then colour on top of a film, and works on any fabric - which is why this page is about alpha, underbase and white ink. The two share almost no failure modes.
- My thin lines disappeared. Is that the file or my printer?
- The file has them - you can confirm in the checkerboard copy or by opening the transparent PNG in any editor. If they vanish in print, the usual cause is the underbase choke set too high, which shrinks the white layer until fine artwork has nothing under it. Reduce the choke and reprint.
More printer test images
- Sublimation Test Image — Free Dye-Sub Colour Reference (PDF/PNG)
- CMYK Test Image — Free 4-Channel CMYK JPEG & TIFF Download
- Color Printer Test Page — Free RGB Color Bar & Gradient (PDF/PNG)
- Sticker Printing Test File — Free Cut Line, Bleed & Safe Area (PDF/PNG)
- Printer Test Image — Free Printable Test Page (PDF/PNG)